Meet your farmers
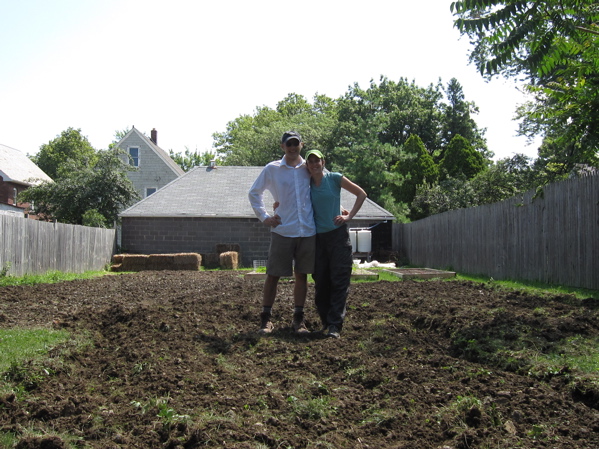
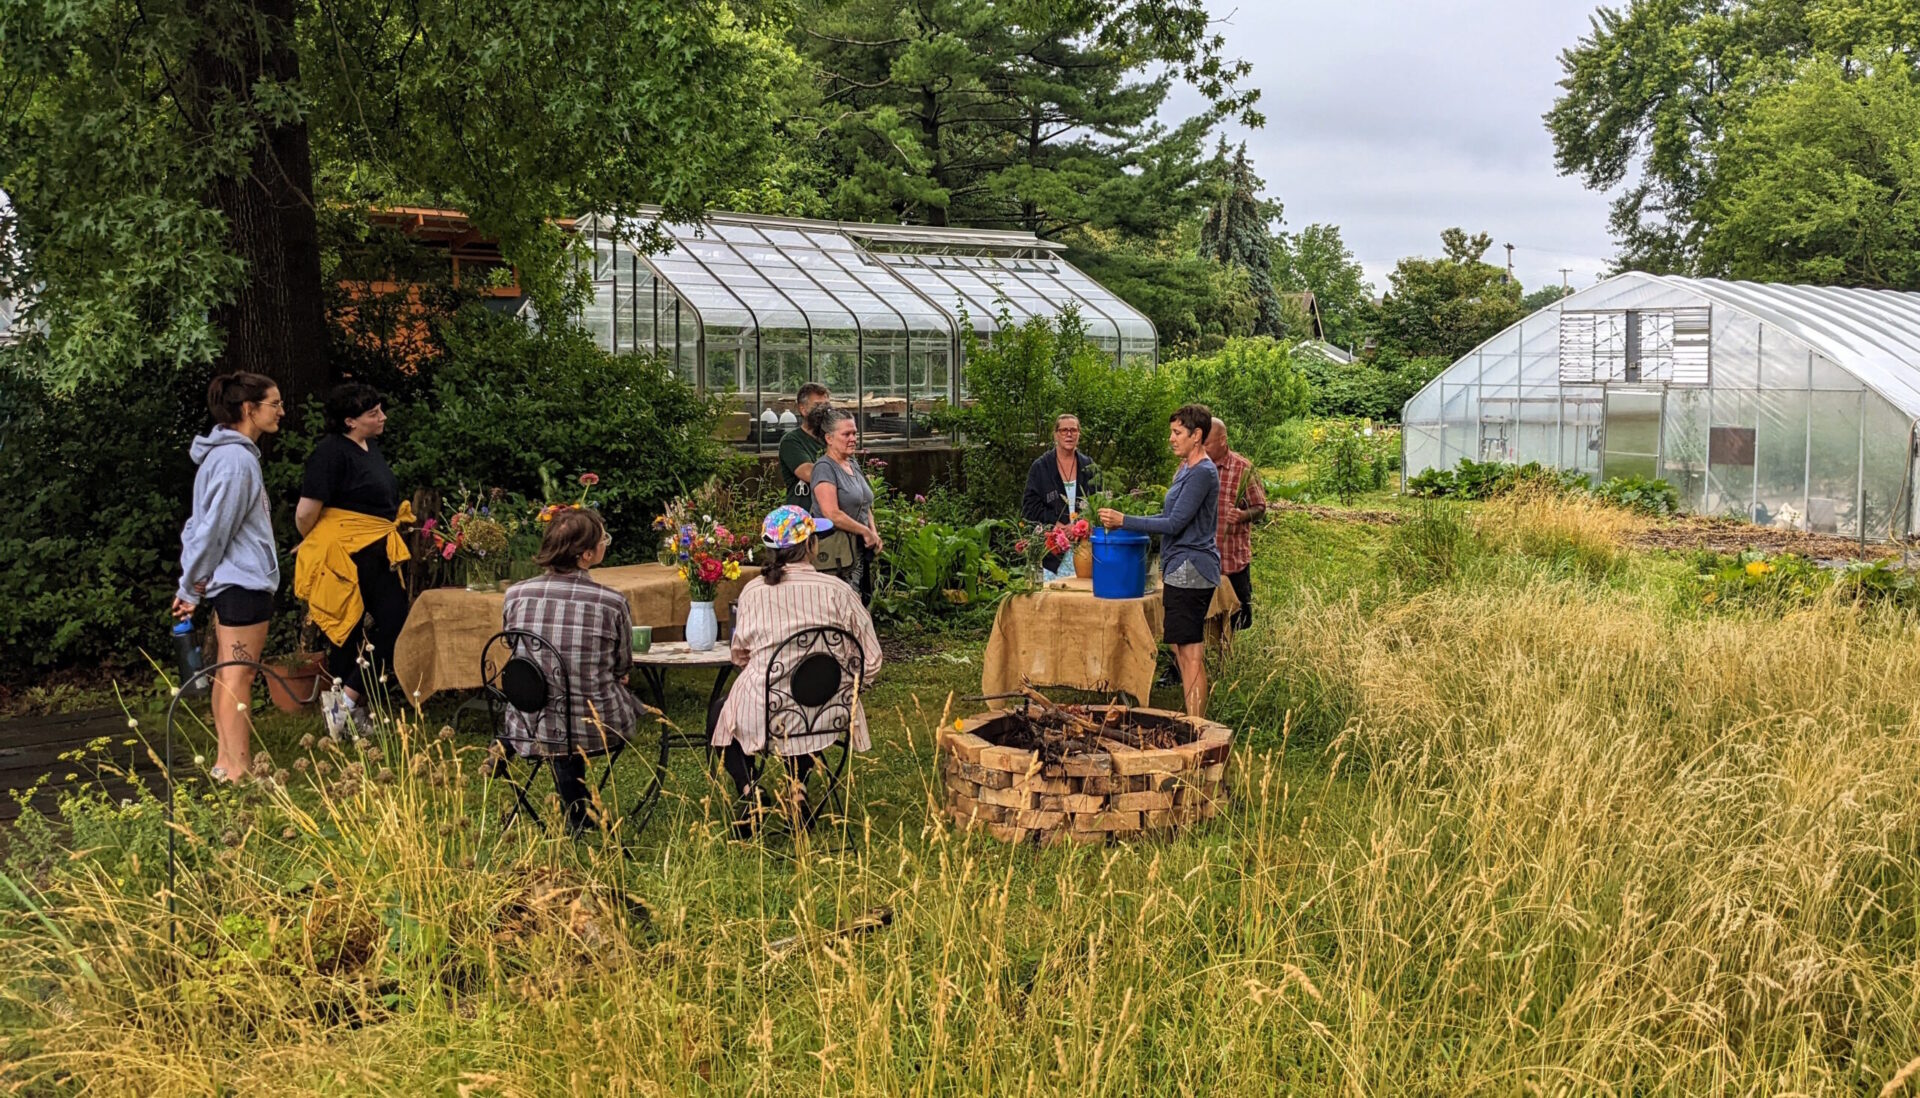
Eric and Annabel started farming in 2010 on a vacant lot in Lakewood, OH. Without a farming background, they followed the SPIN (Small Plot INtensive) method to grow a lot of veggies in a small space. The lessons learned from this proof of concept helped them develop a business plan and model. In 2013, they moved to Cleveland and more than doubled their growing space with a large backyard. They now grow vegetables and flowers intensively on about ½ acre in Cleveland.
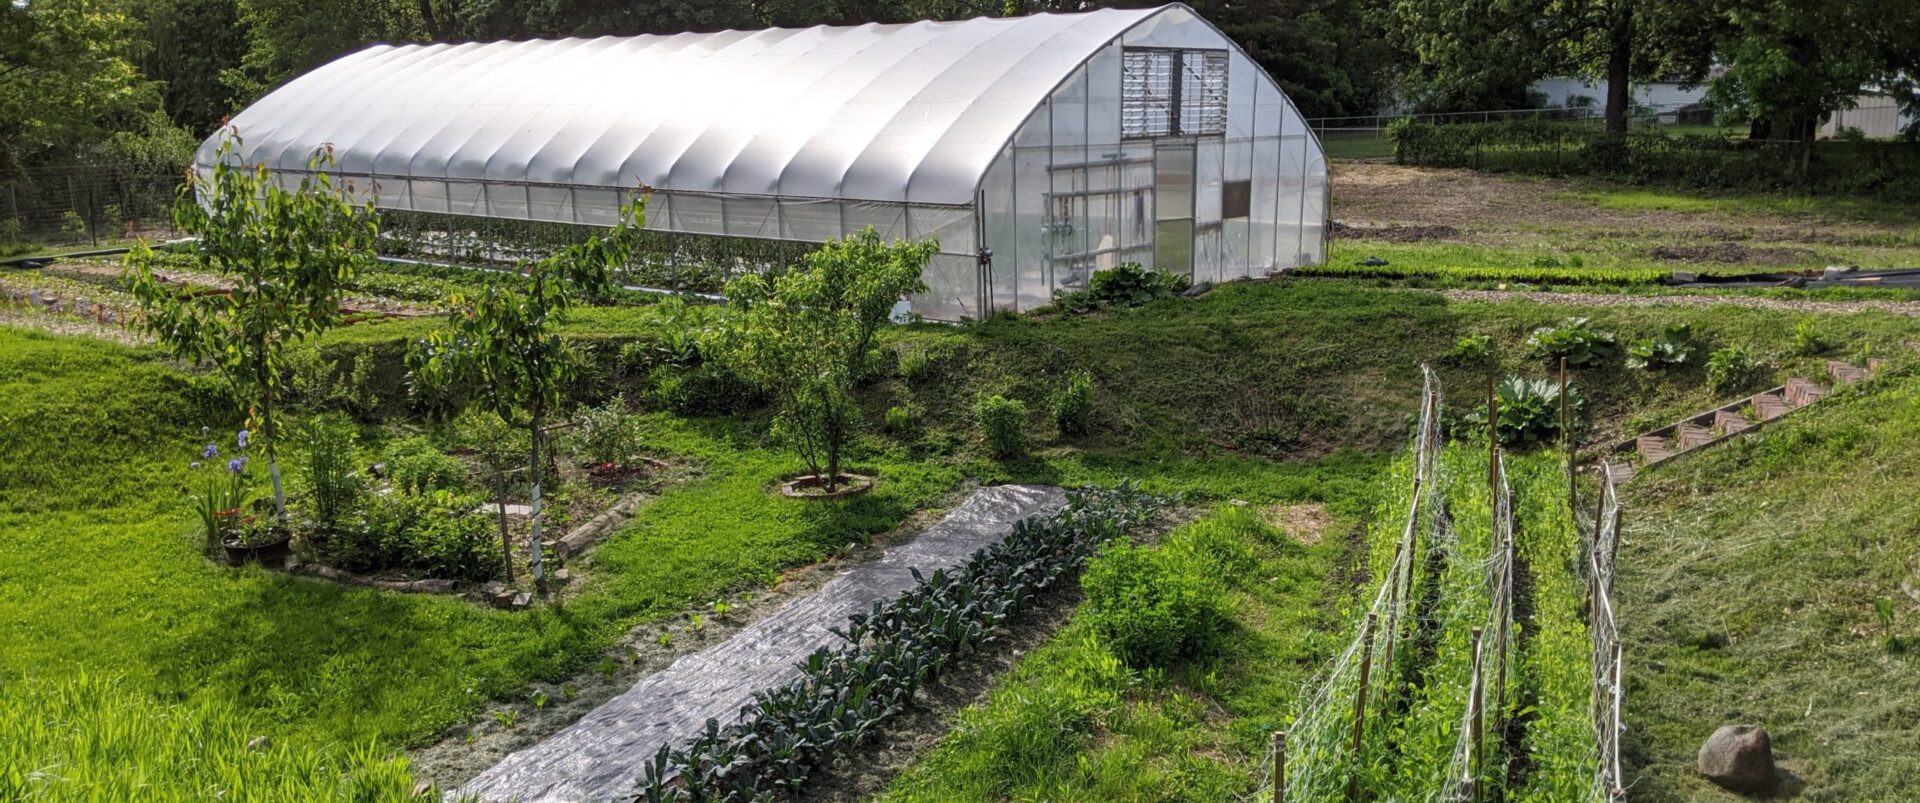
How we grow
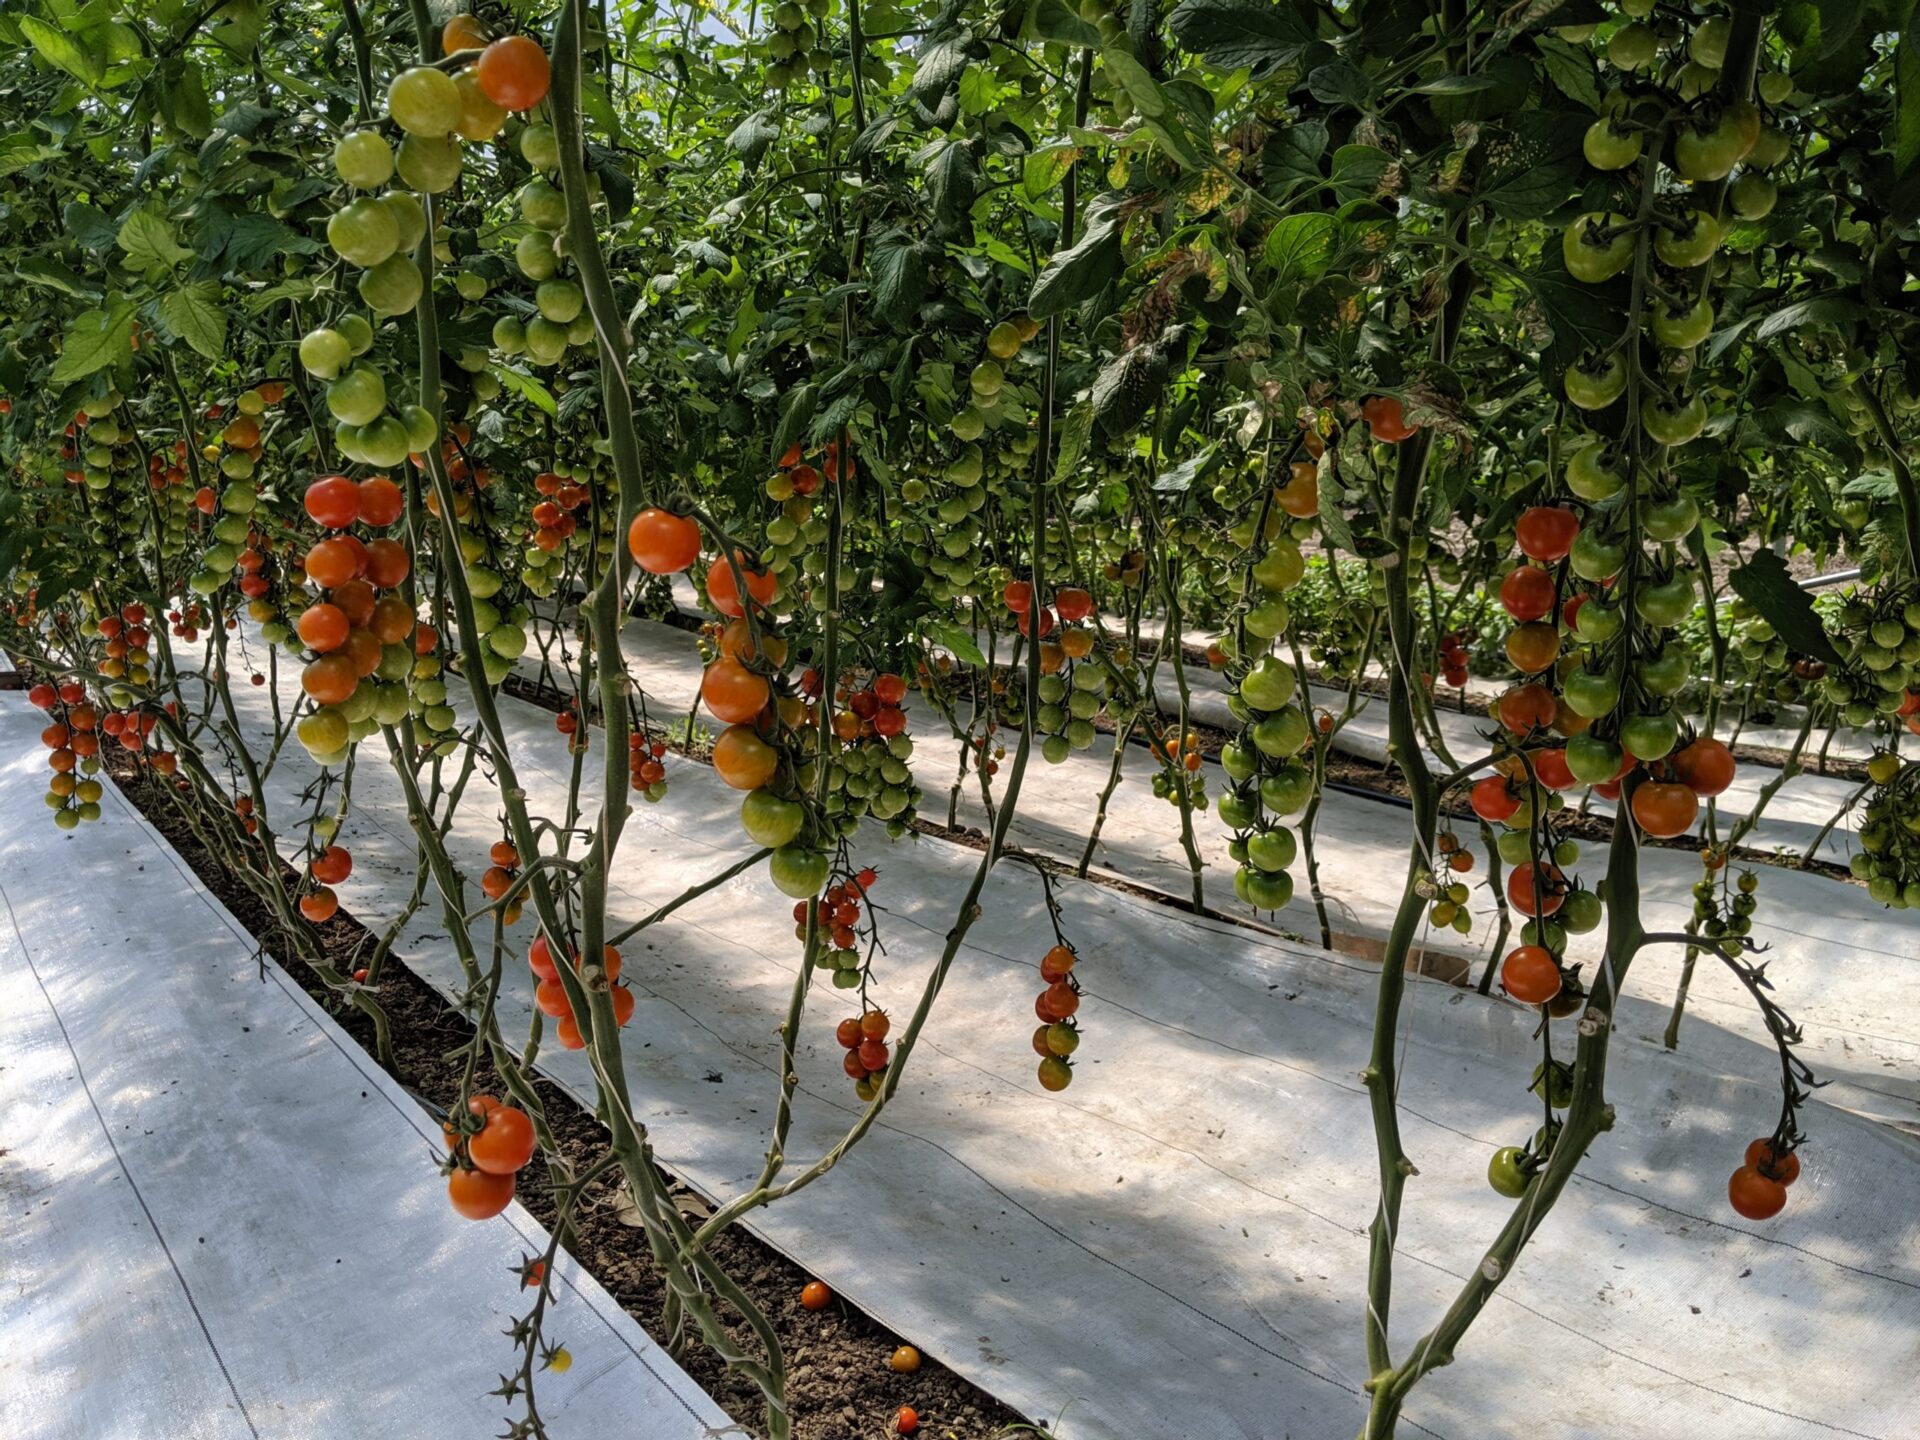
Our growing practices
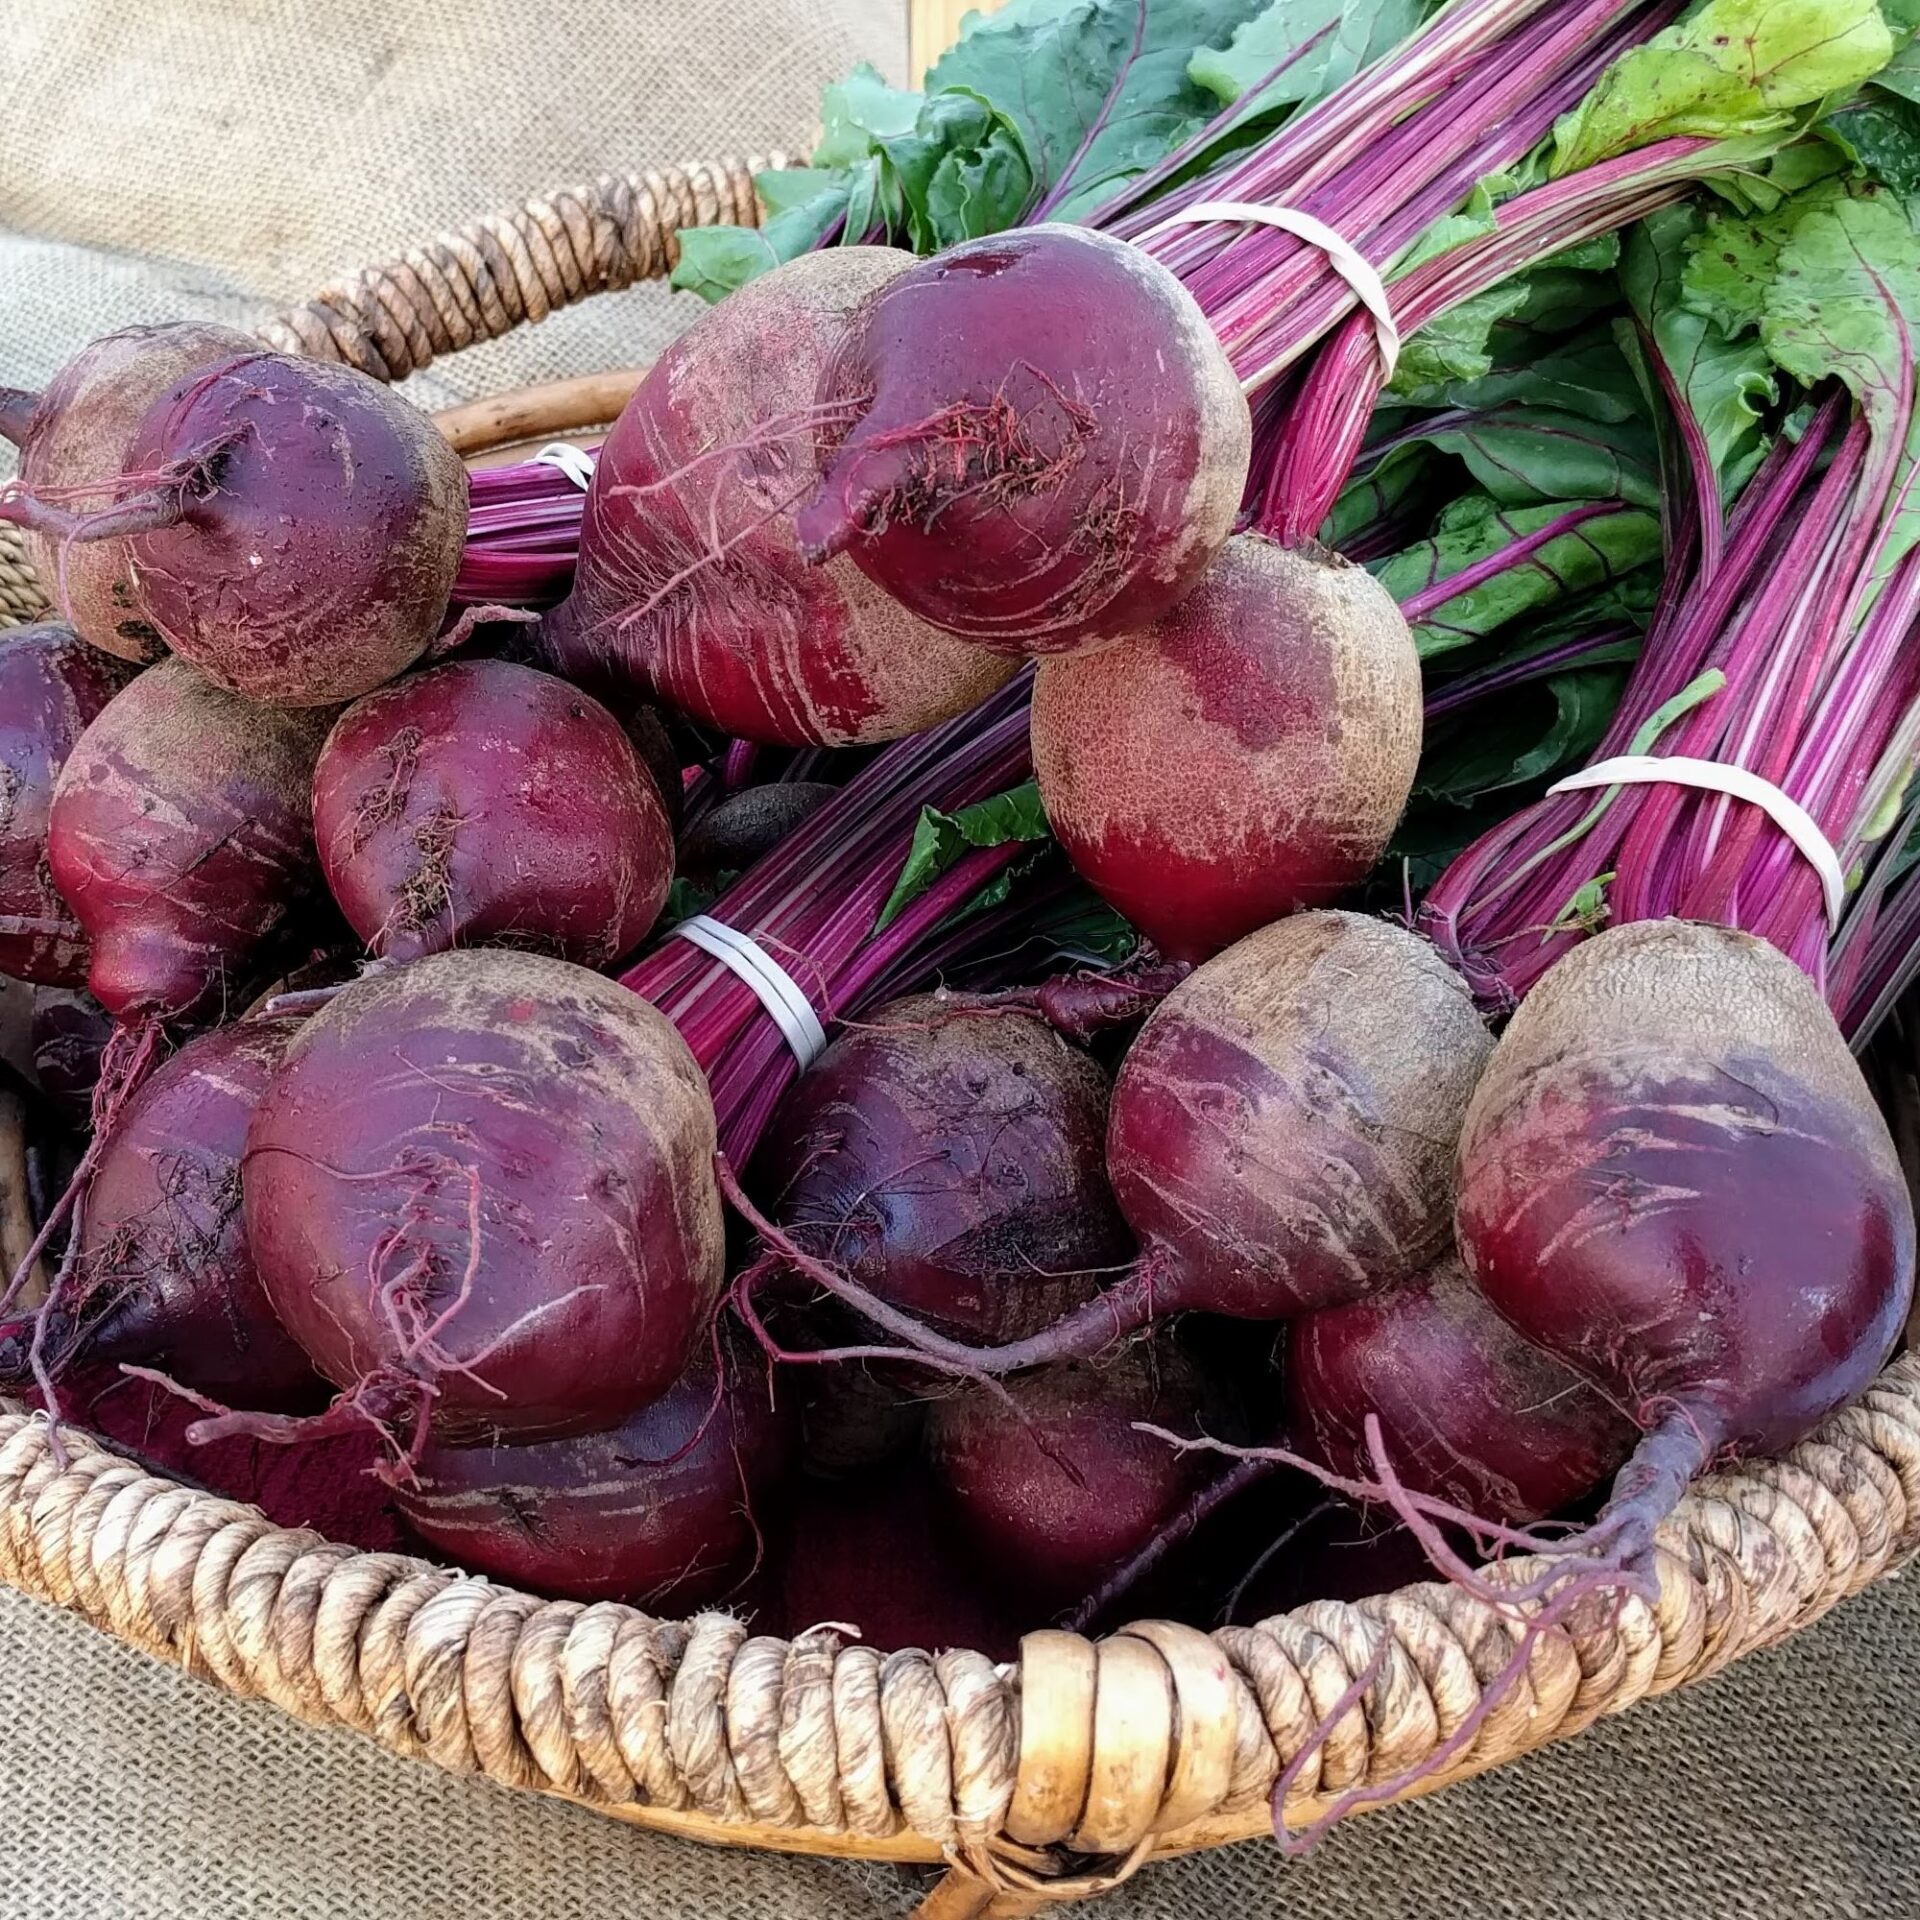
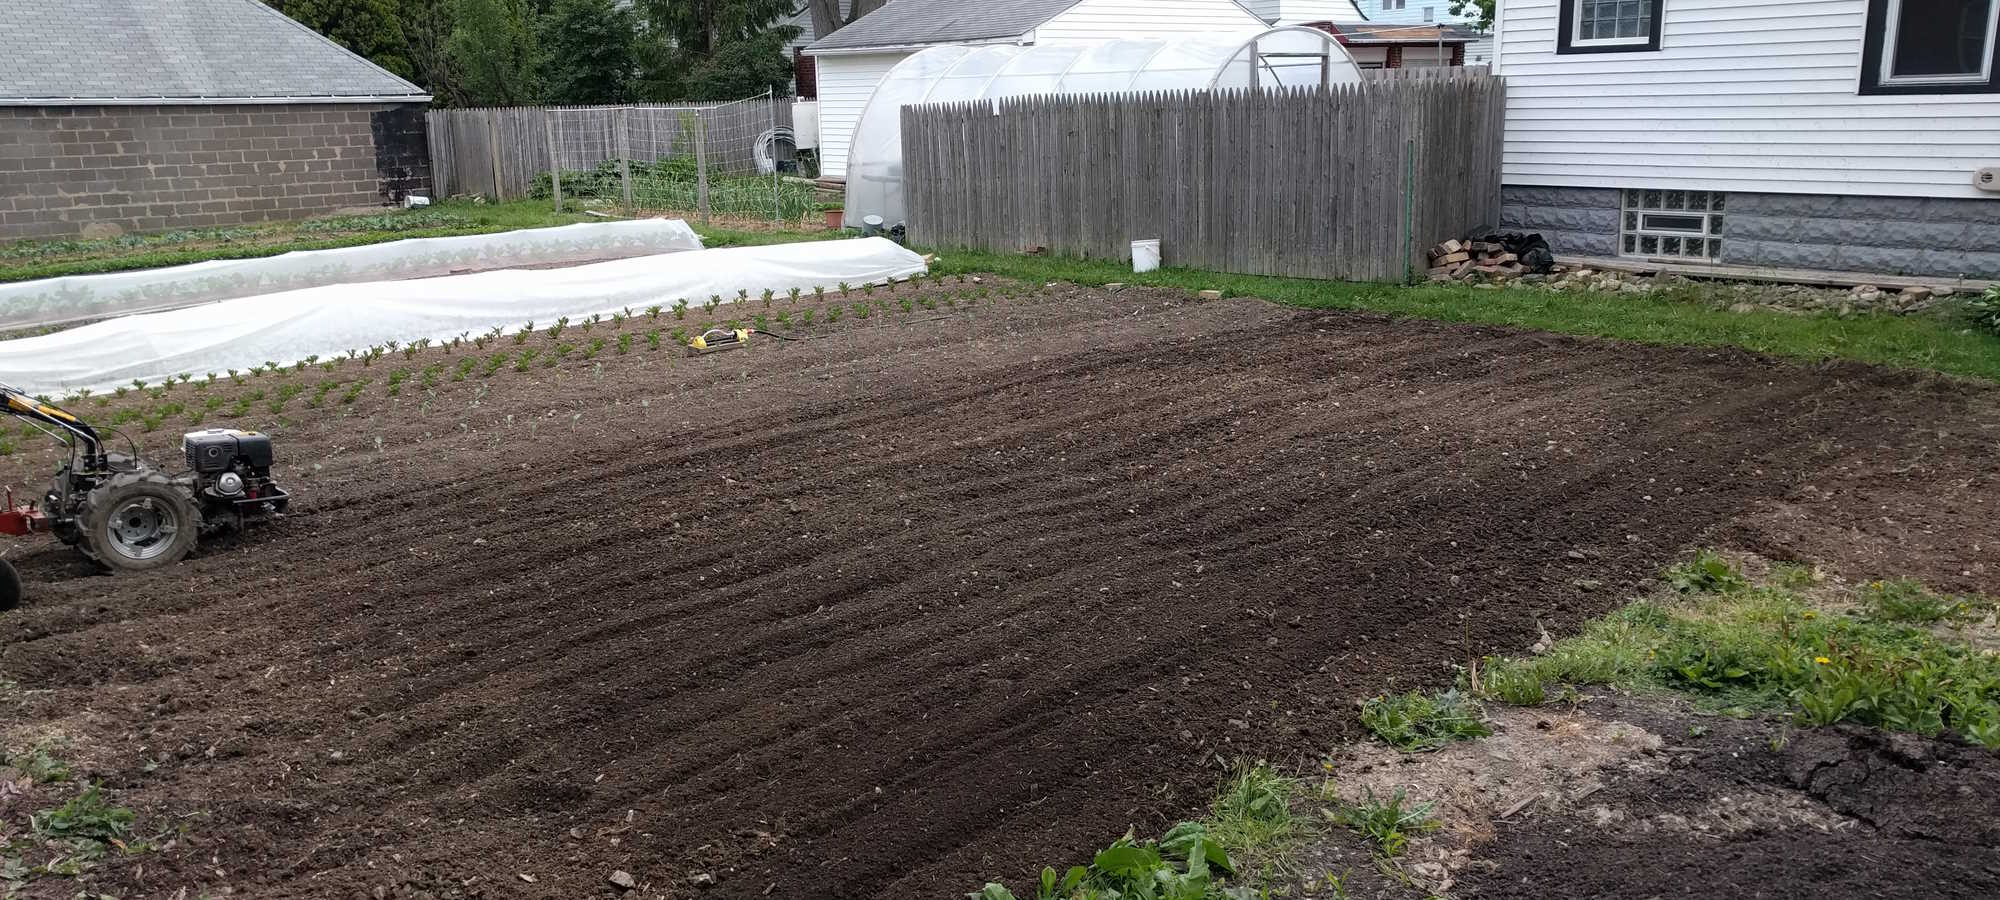
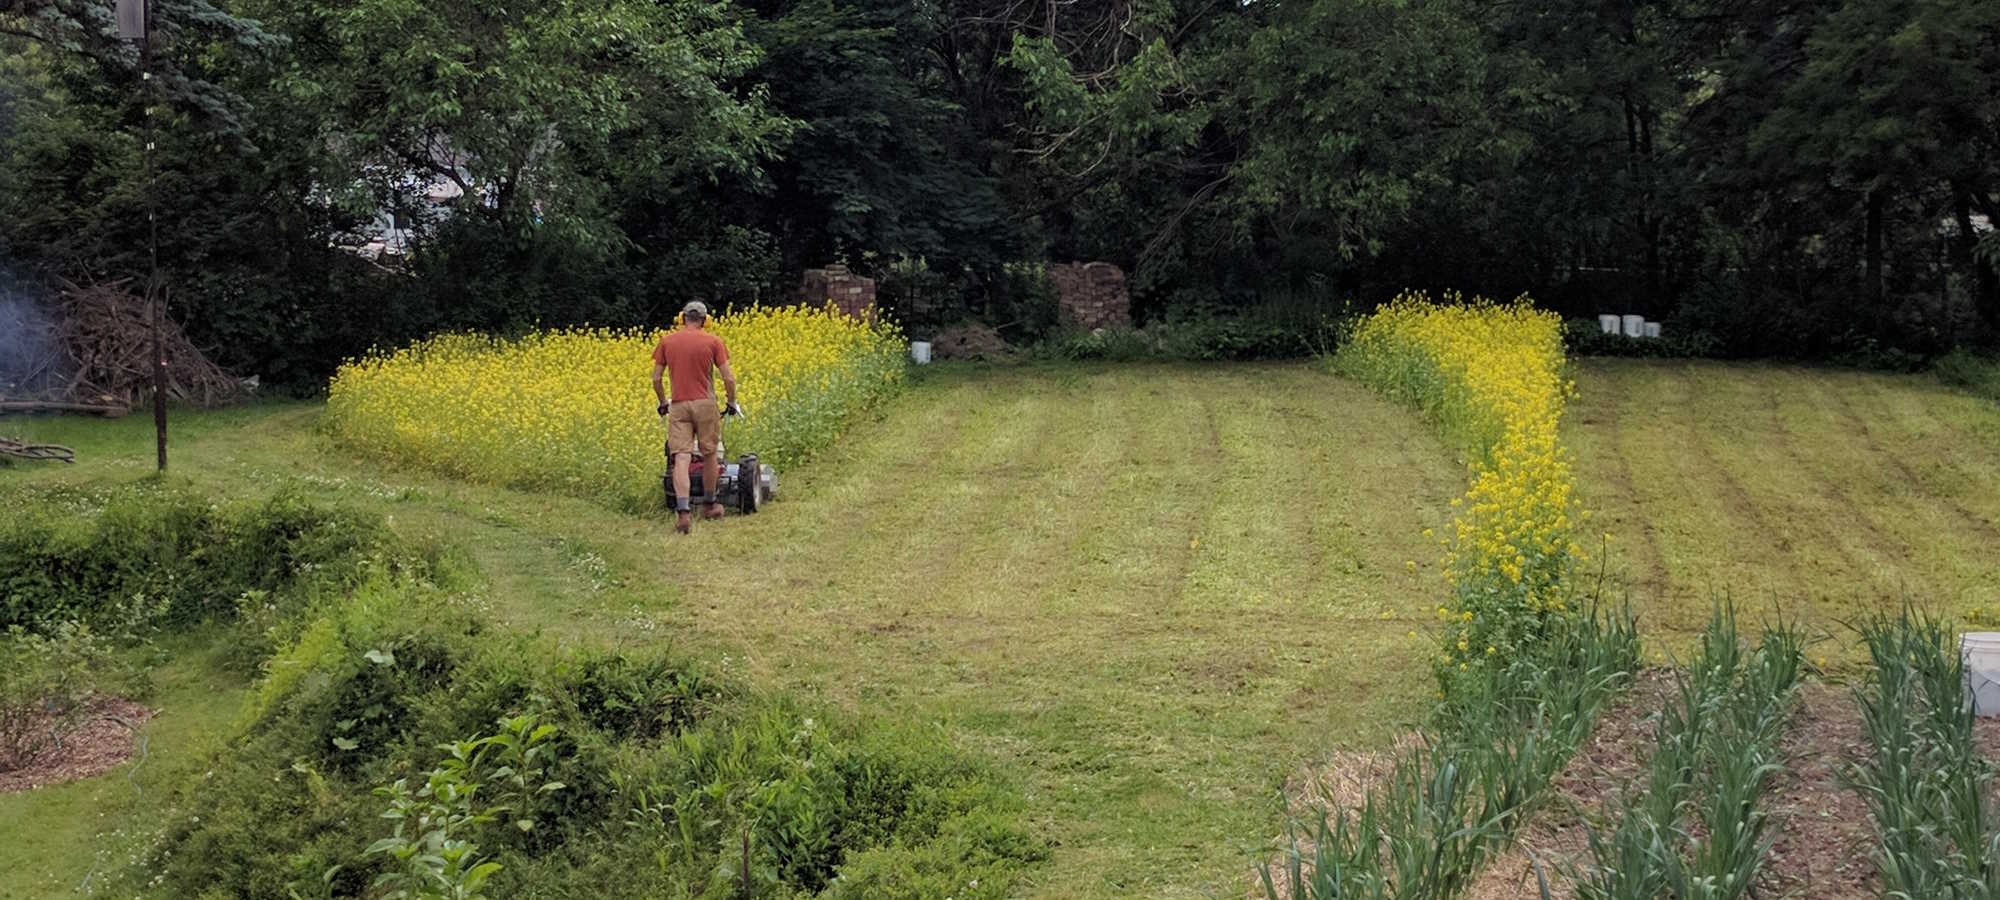
We follow organic growing practices. This means we never spray our food or soil with man-made pesticides or herbicides. Instead, we promote biodiversity on the farm to attract beneficial organisms, practice crop rotation to reduce pest pressure, apply plant-based compost to balance soil nutrients, and reduce soil disturbance to maintain microbial life.
Find Our Produce
Where to Find Us
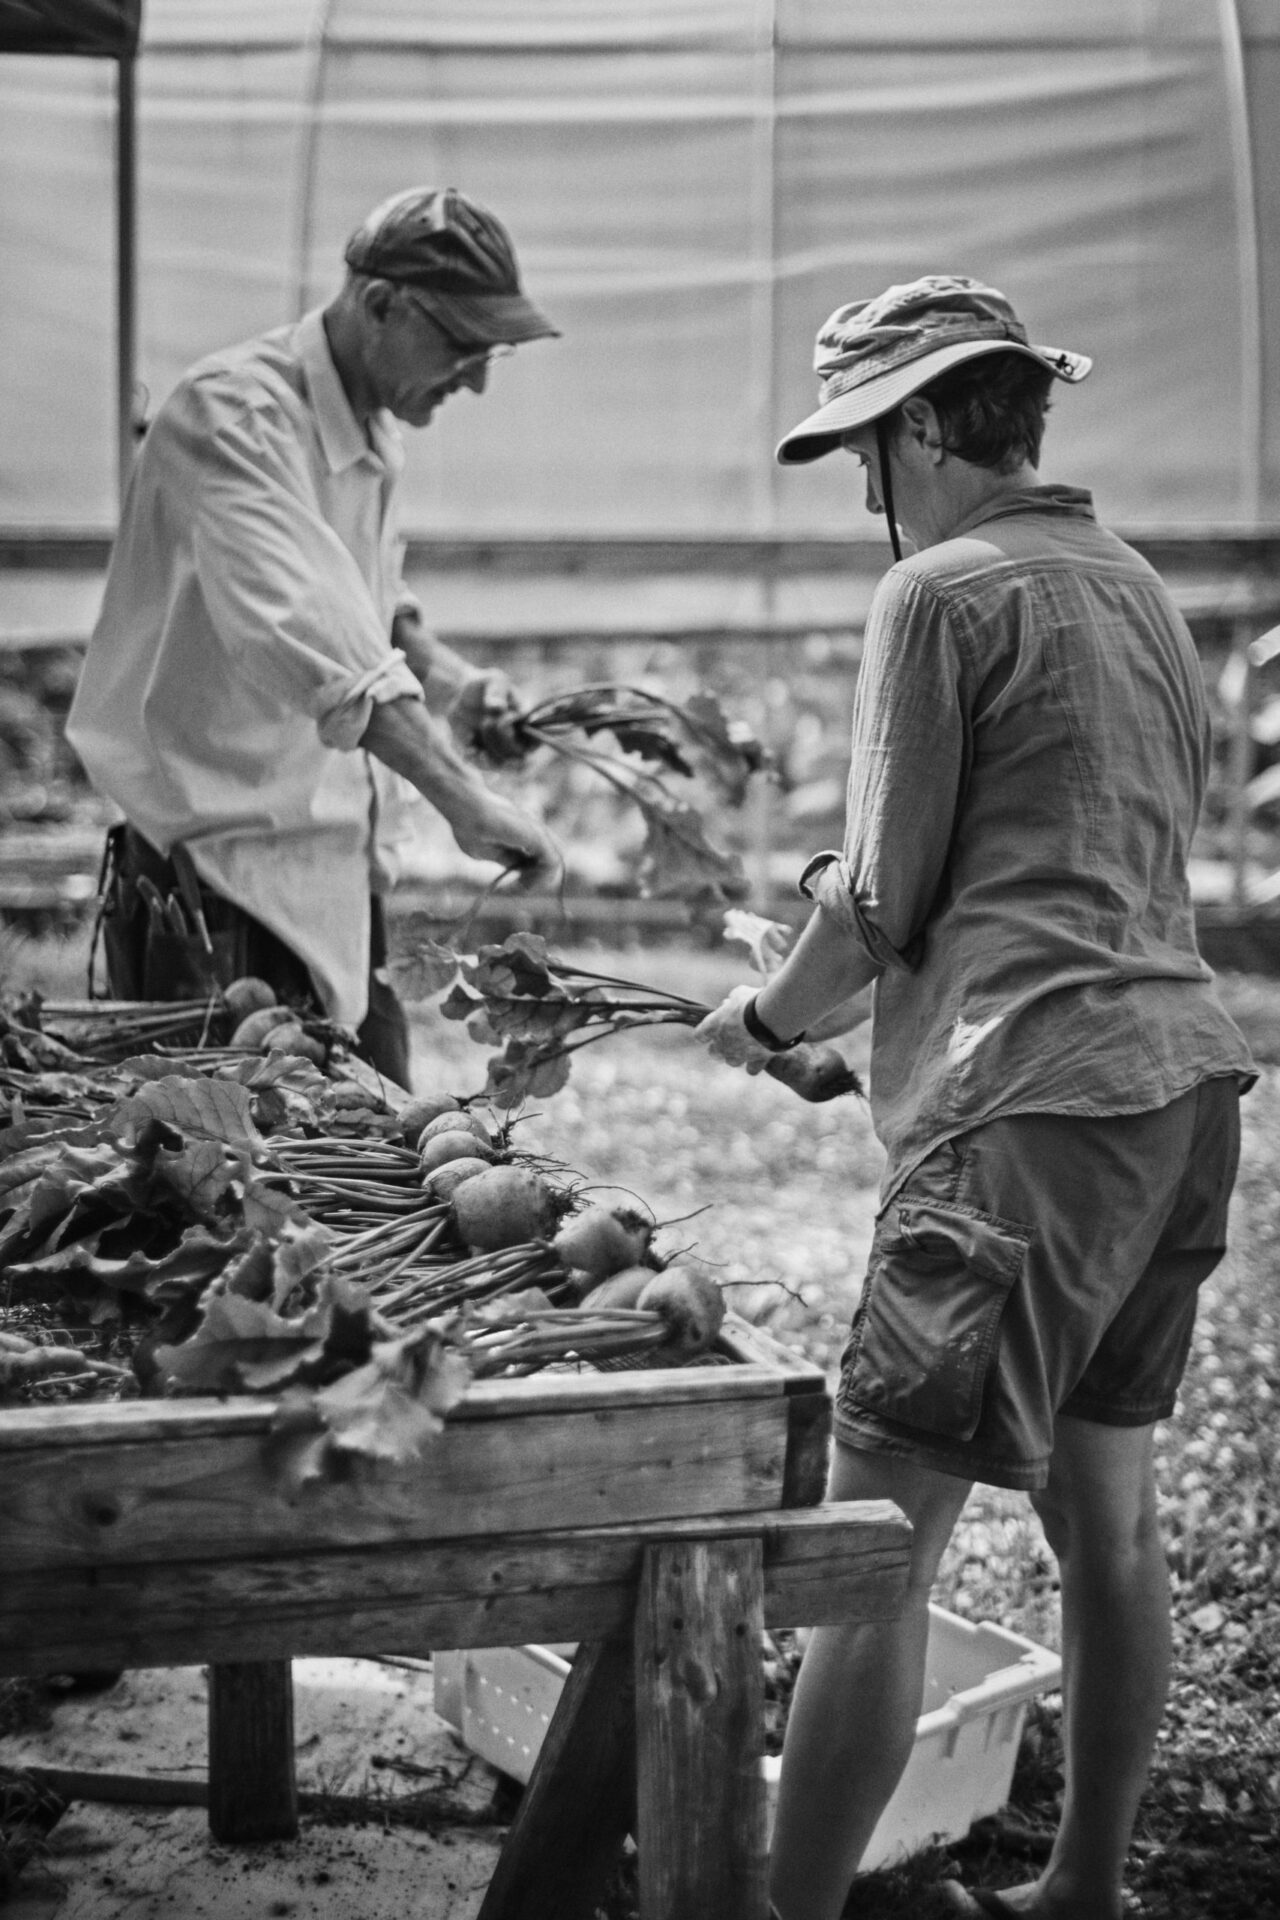
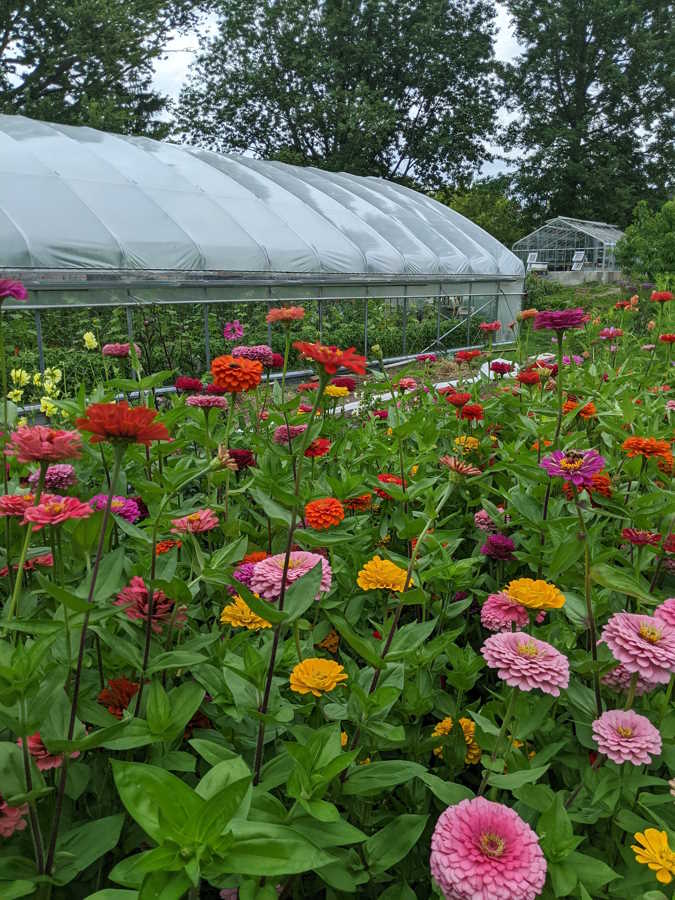
We grow diversified vegetables, herbs and flowers and you can find our products at the following local food stores:
- Lake Road Market — lakeroadmarket.com — Rocky River
- Oxbow Orchard — oxboworchard.com — Valley View
- purplebrown farm store — purplebrownfarmstore.com — Peninsula
Cleveland has such a vibrant food scene and we are thrilled to collaborate with local chefs and food businesses. Please contact us directly to discuss your needs.
Grow Your Own
Plant Sale
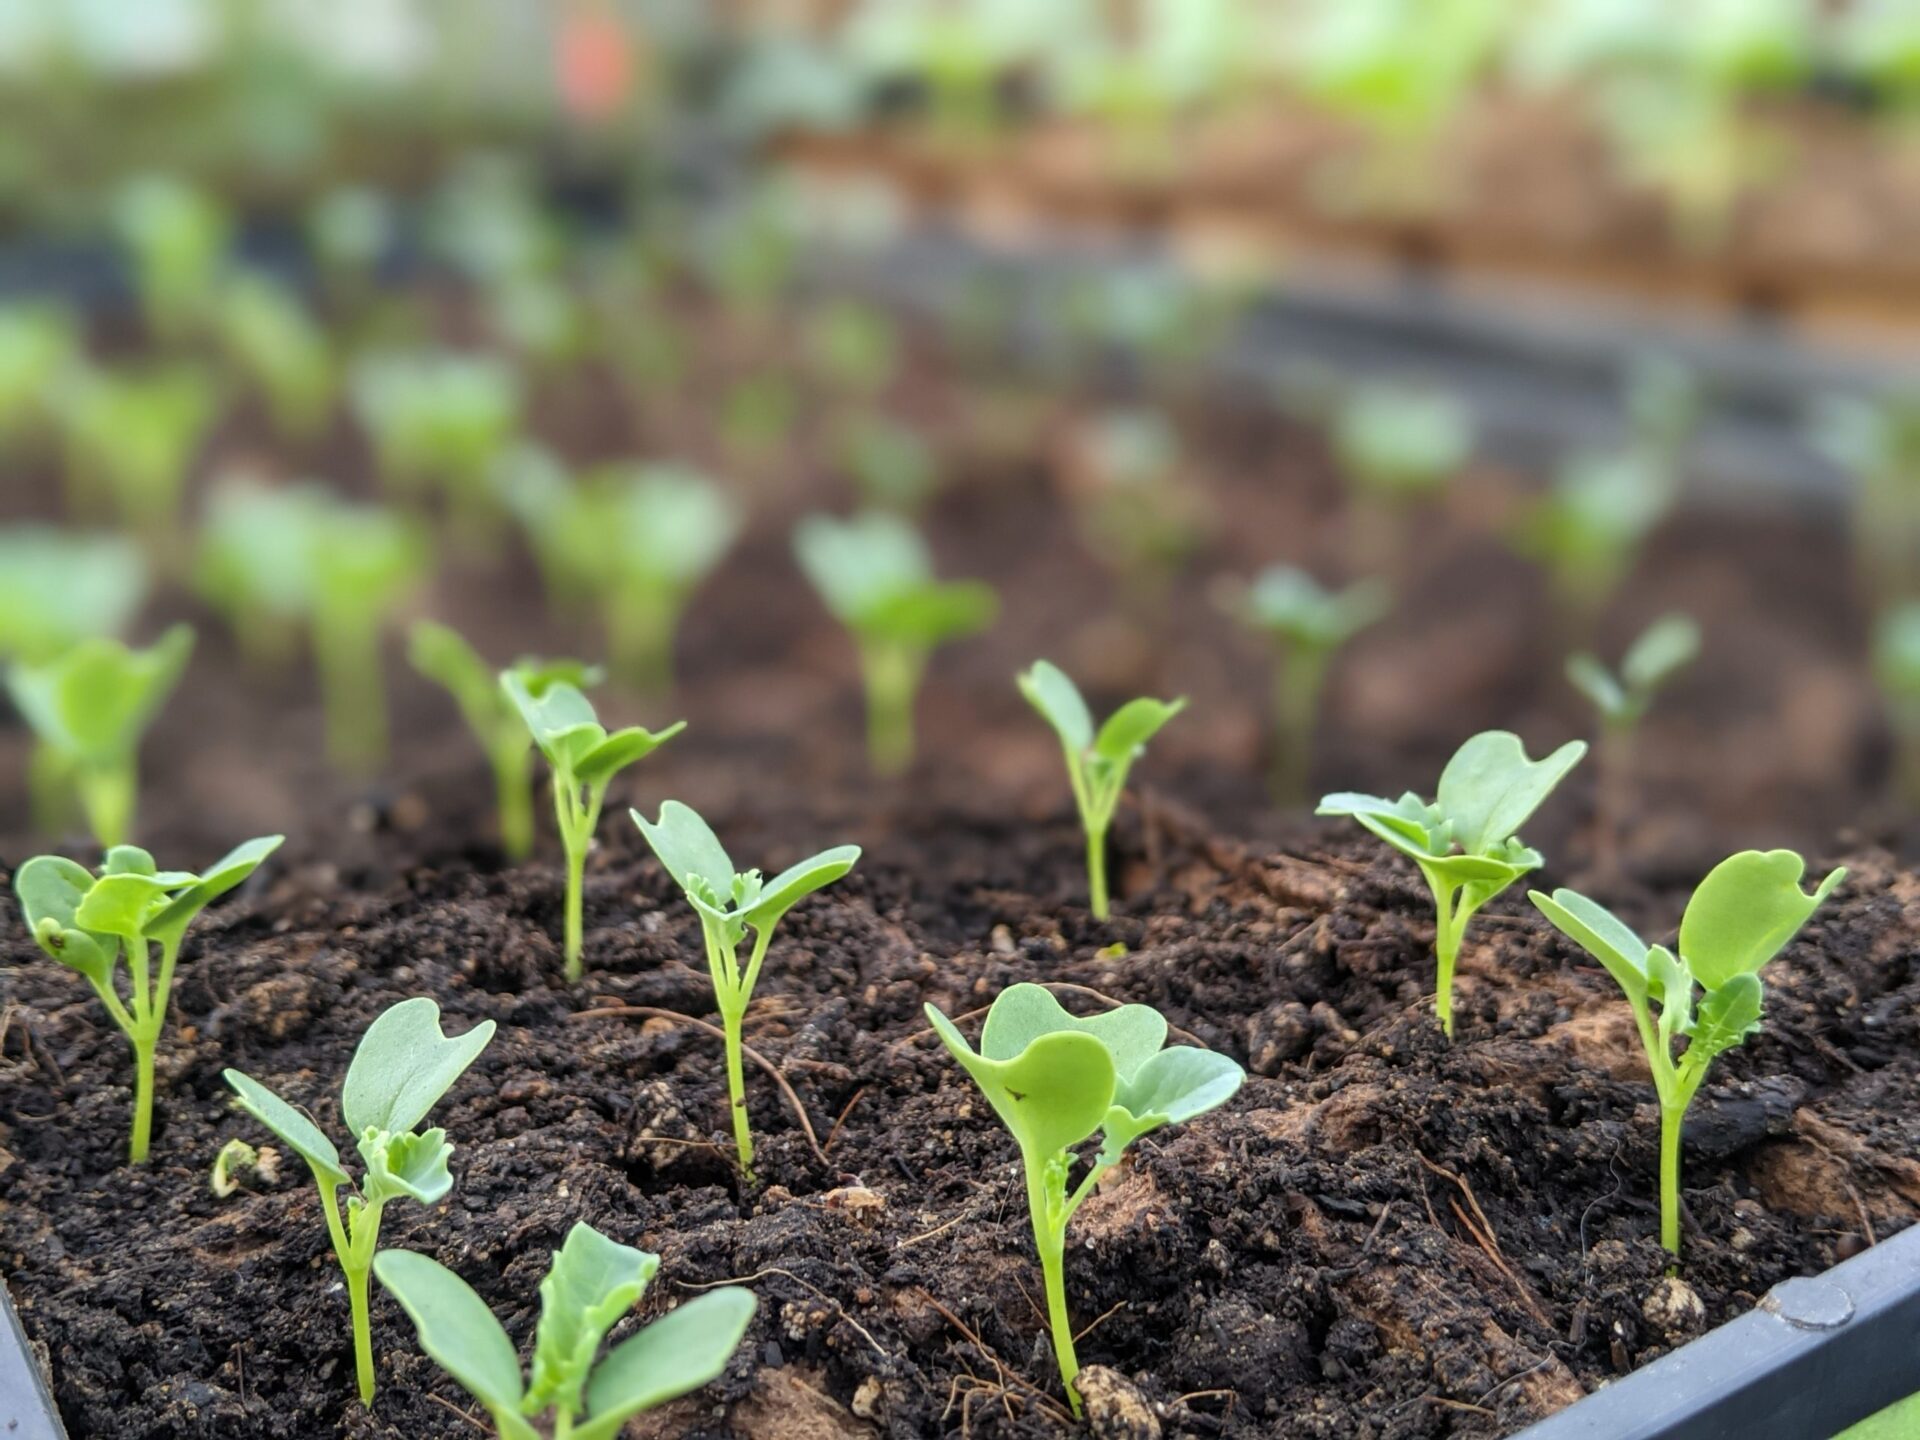
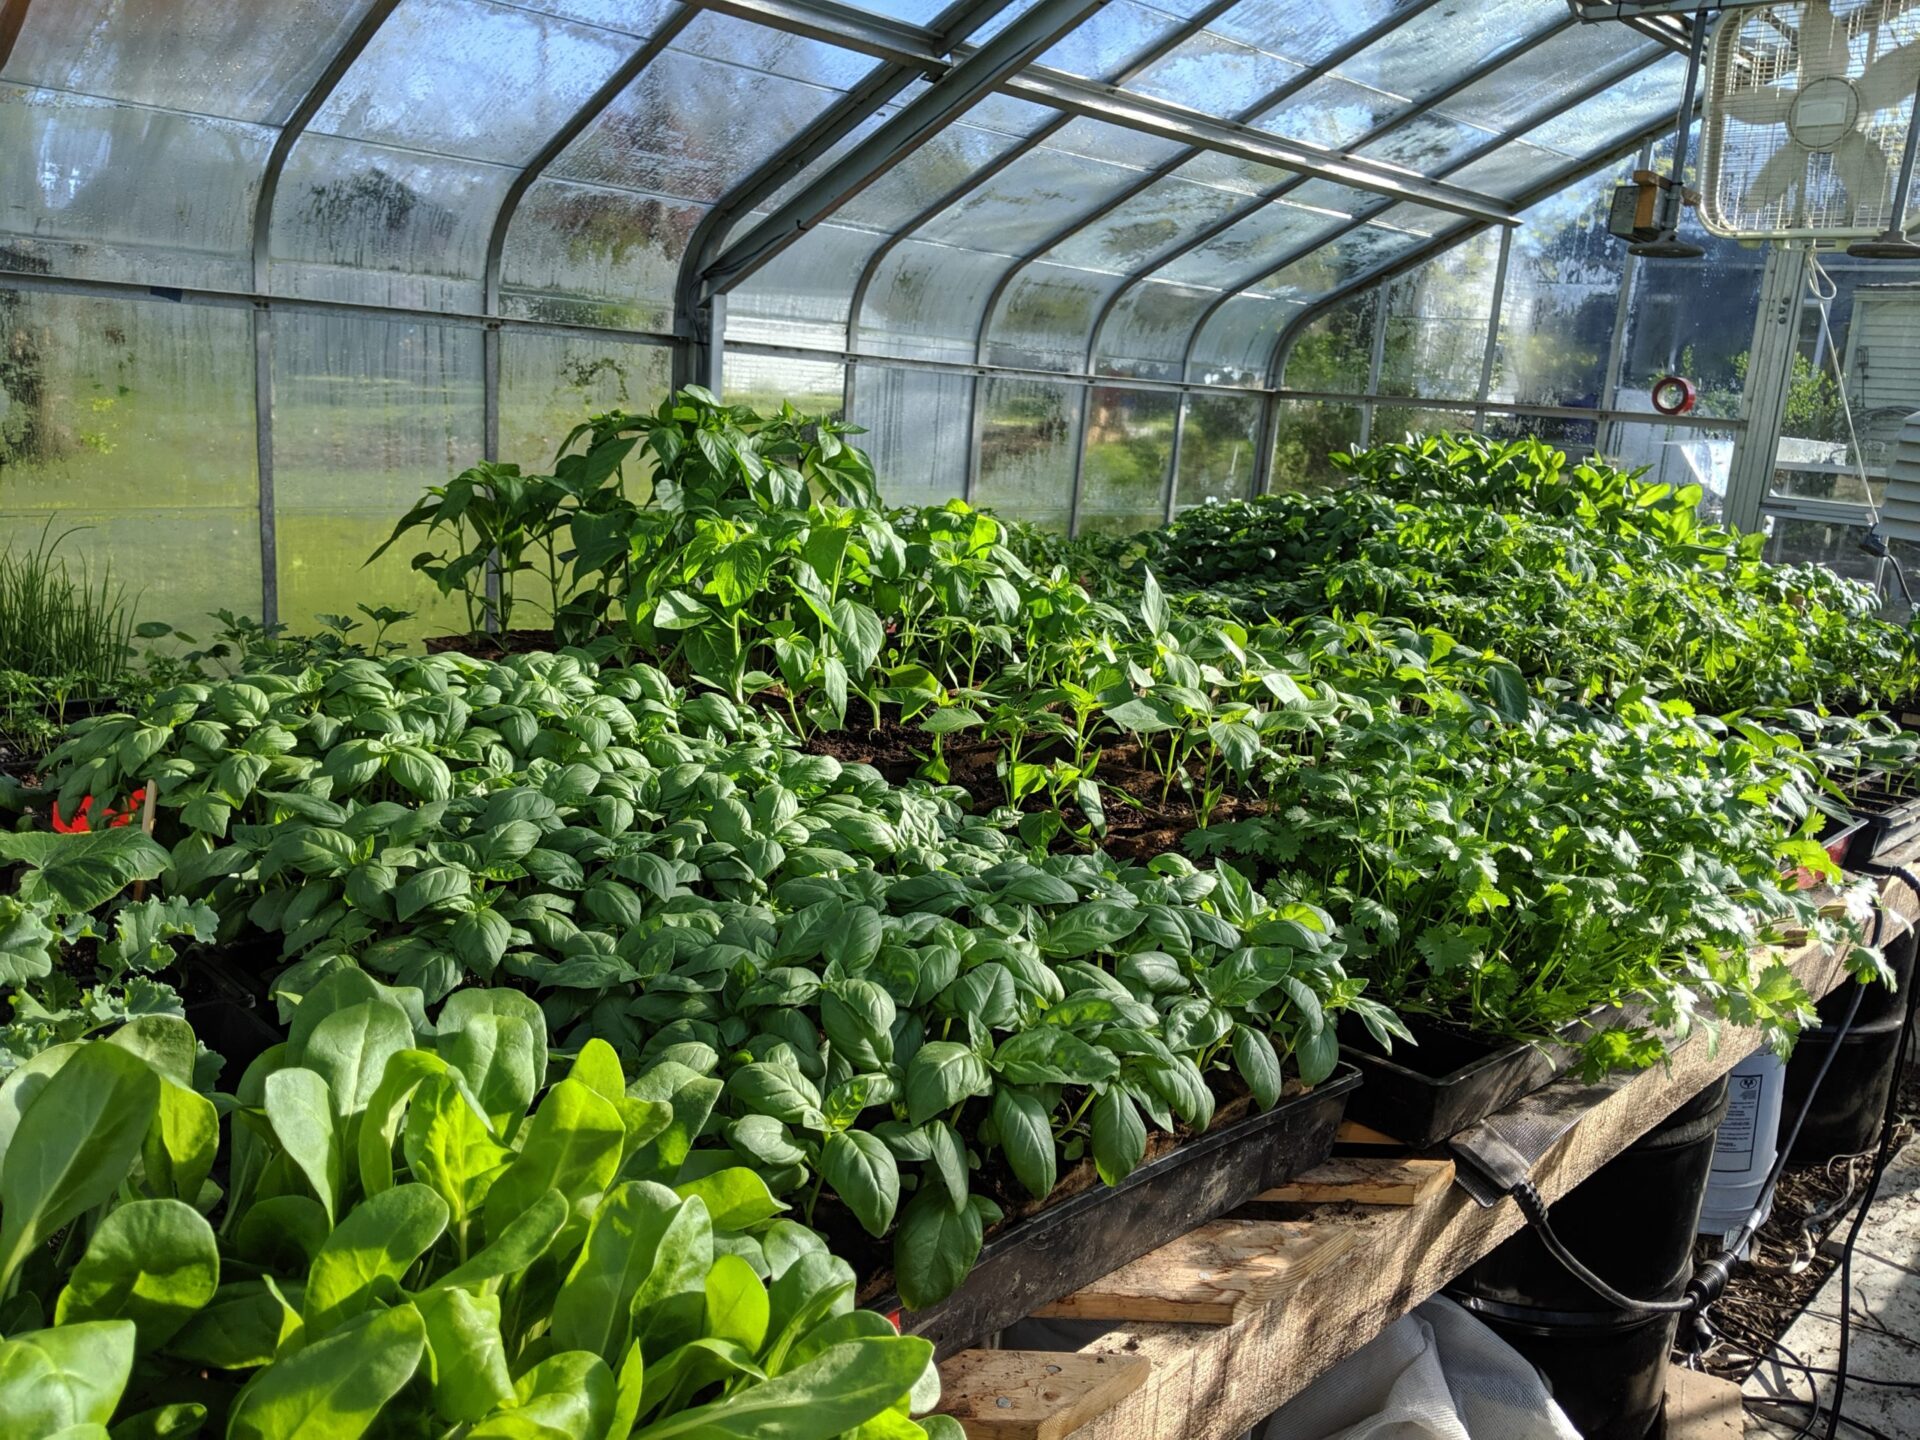
Our annual spring plant sale will be on May 23th 2026 - 9:00 am to 4:00pm. We look forward to seeing you in the spring! All plants are started on our farm from seed (organic when available). Plants are started in Sprout mix by Tilth Soil, a local Cleveland product from Rust Belt Riders. Most plants come in Cow Pots, made from composted cow manure and cardboard. Cow Pots provide nutrients to the plant and limit transplant shock — just plant the entire pot in the ground.
Stay Connected
Join Our Mailing List
Seasonal updates, event announcements, and farm news. No spam, ever.
Farm Gallery
Get in Touch
Questions about our CSA, farm stand hours, or anything else? We'd love to hear from you.